We all know what we want to do - simply exit and water the plant life frequently, maybe a couple of times a day while it's miles warm, however therein lies the problem, life just receives within the manner.
We have all heard approximately irrigation, but is not it complex? Hundreds of little bits, a need for an outdoor faucet, an ugly hosepipe and a big water bill?
There is an less difficult manner.
The WaterWand irrigation package uses sunshine to power your irrigation - no wires, no dangerous electricity/water mixes ängelholms plantskola .
It makes use of rainwater out of your water barrel. No hosepipe bans, no nasty surprises on your water bill.
The WaterWand solar pump is absolutely automatic. It waters every 3 hours thru the day, whether you are there or not. It waters slowly, with drip or seep hose irrigation, in order that water goes precisely wherein you need it. Water has time to soak in in preference to run off. Compost or soil does no longer have time to dry out. It waters greater while it's far sunny and your vegetation want extra.
Soluble fertiliser (about 1 / 4 everyday electricity) may be delivered in your water barrel so your plants get fed as they're watered. They grow and flower higher.
But maximum important of all the WaterWand is so easy to set up that nearly every body can do it with tools that nearly every body has.
How to do it
Position pump
The solar irrigation pump desires to be located in order that it's miles facing in the sunniest path and isn't shaded. If your water barrel is in a shady function it's miles k to position the pump a ways away. Ideally the pump need to be just a little better than the high water mark in the rain barrel, however if needs be may be up to 6' (2m) higher. It can be hung from a nail, hook or comparable.
Dripper irrigation
Follow the link at the bottom to peer a schematic.
Start with the most remote pot or basket from the pump. Screw a drip nozzle into the shipping tube. Screw it proper in or it'll leak. Put a stake onto the tube approximately an inch (3cm) back from the dripper. Stake into your pot or basket so it drips close to the center. Route the tube back to the subsequent container, concealing it as you pass and if important clipping into location. When you have were given back to where the irrigation needs to department, cut the tube. It's most secure to use scissors. Screw some other dripper ultimately and hold inside the desired function over the pot/basket, then comply with the tube returned to wherein it wishes to connect to the first piece. Cut the tube. Screw a tee into the first piece of tube, then screw the second one piece of tube to the tee. When you have executed this attach the stake and fasten in position. Repeat till all your pots or baskets are linked up.
If your flowers are grouped connect up the flora in every institution, then connect the groups using sub mains. (the tube is all of the same - a sub essential is simply a tube main to a group of drippers.
You must have one open stop left in your tube - take this again to the WaterWand pump. Cut the tube clean and rectangular (a pointy knife is wanted) leaving enough slack so that when linked it will no longer be bent sideways or pull in opposition to the pump connection. Push it onto the connector marked O.
Now drill a hole within the pinnacle edge of your water barrel - above the excessive water mark however low enough for the lid to suit on. You can drill the hole inside the lid however this will make lid removal extra awkward.
Thread tube through the hole and push the clear out at the quit. Adjust the tube so the filter out hangs five -10cm above the lowest of the barrel as in schematic. Take the other cease returned to the pump and fit inside the identical way as the opening tube.
Pump operation
A new pump may additionally run for a while whilst it is first became on. Ideally water ought to be directed back to the barrel till it stops for the first time. Then flip the pump to most and connect with the opening tube. The pump will start up at three hour intervals from when it is first grew to become on. If it applies too much water, flip it down. Repeat until you are glad with the utility fee. Remember as flora develop the pump can also want to be grew to become up.
How a whole lot water is the right amount?
Hanging baskets need to drip a little after the afternoon watering. Pots must also drain a touch. You should be monitoring the driest basket or pot. As lengthy as bins are free draining, excess water will get away.
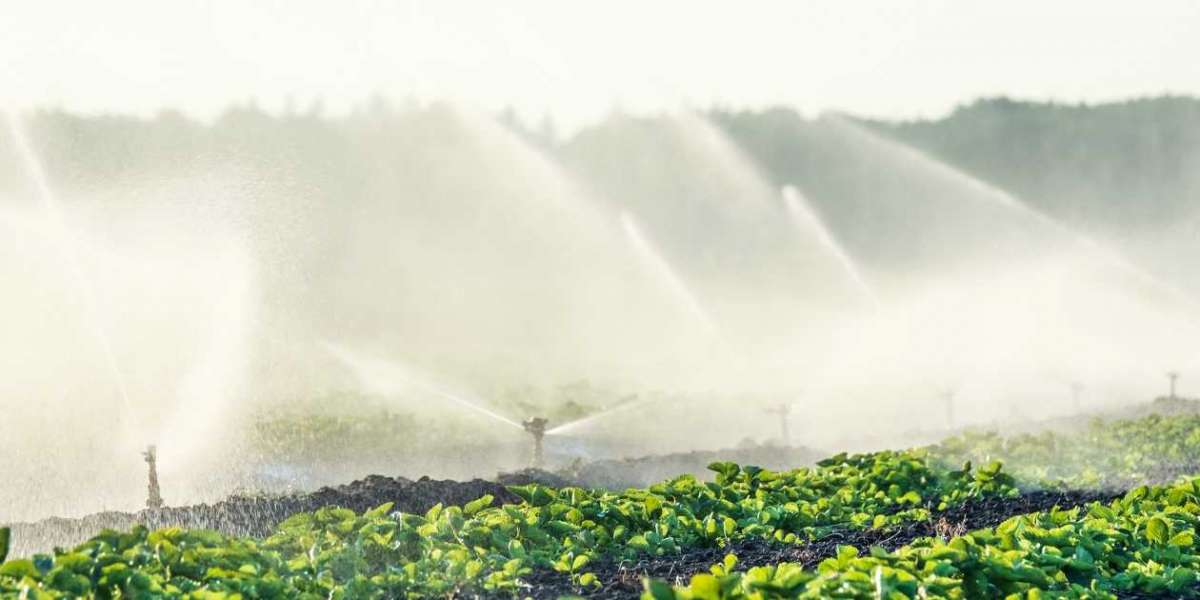
Where to use it
Anywhere below the solar that needs automated watering and perhaps feeding too.
Care and upkeep
· Ensure your water barrel and water are smooth before you start watering.
· Clean the solar panel with a damp material if it receives grimy.
· Change the battery yearly, specifically earlier than you go away.
· Ensure your water barrel is complete before you depart.
· Keep the WaterWand pump inside all through the wintry weather, away from intense frost.
· Do test often that the water software price is correct.
Limitations
The pump is designed for small-scale use.
· five - 6 large hanging baskets
· 20 10 litre pots
· Maximum peak above water barrel 15' (4.5m). It will pump better, but you get less water.
· Normal flow fee 130ml/min. 50m of tubing will lessen this with the aid of about 10%. Keep tube lengths as brief as realistic.
George H Evans has been a gardener for all his lifestyles and a pro horticulturalist for maximum of it. Since August 2008 he has been developing sun irrigation kits specially for small scale lawn initiatives.