This guide will walk you through the steps to browse cards efficiently and find exactly what you need.
Step 1: Log into Your Feshop Account
Before browsing, you must have an active Feshop account. Log in using your username and password. If you’re a new user, you’ll need to register and verify your account first.
Once logged in, you will be directed to the dashboard, where you can manage your profile, balance, orders, and browse available products.
Step 2: Go to the Search Section
On the Feshop dashboard, find the Search or Shop tab on the sidebar. This is where you can browse through available credit cards listed on the site.
Clicking this will open a search interface where you can filter card listings based on various parameters.
Step 3: Apply Search Filters
Feshop allows users to narrow down their search using multiple filters. This helps you find cards that meet your specific criteria. Here are some of the most common filters:
Country – Choose the country where the card was issued.
State/City – Narrow down further by selecting the cardholder’s region.
Bank Identification Number (BIN) – Useful if you're looking for cards from a specific bank.
Card Type – Filter by Visa, MasterCard, AmEx, etc.
Price Range – Set a minimum and maximum price for the cards.
Card Level – Choose Standard, Gold, Platinum, Business, etc.
Availability of Extra Data – You can filter cards with additional information like SSN, DOB, or fullz.
Once you've selected your filters, click the Search button.
Step 4: Review the Results
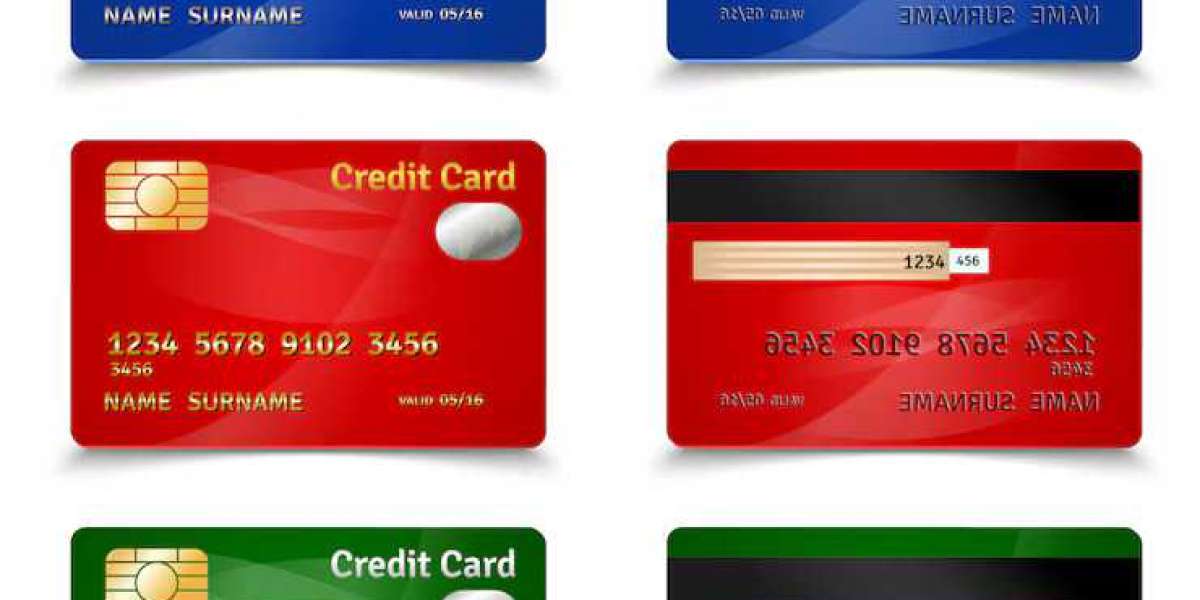
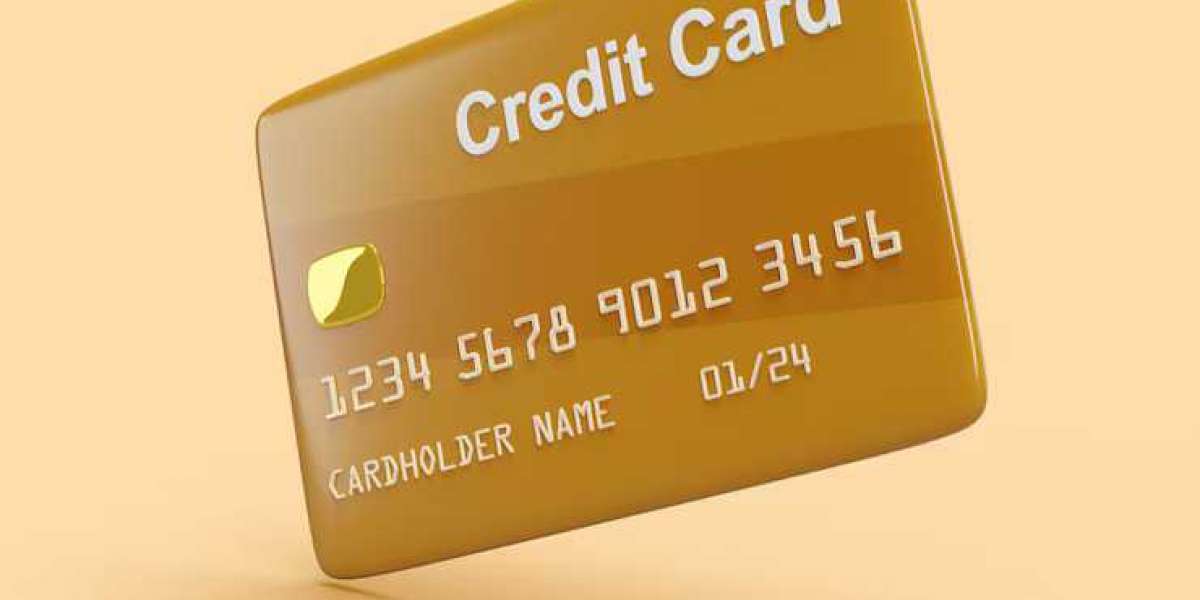
The search results will show a list of cards that match your criteria. Each listing typically includes:
Card type and level (e.g., Visa Classic)
BIN number
Country/State
Available data (e.g., cardholder name, ZIP code, DOB)
Price
Stock availability
You can click on a specific card listing to see more detailed information before purchasing.
Step 5: Add Cards to Cart
If you find a card you want to purchase, click the “Add to Cart” or “Buy Now” button. You can continue browsing and add multiple cards to your cart.
Once you're ready to complete the purchase, go to your Cart or Checkout section and proceed with the payment using your available balance.
Step 6: Download Purchased Cards
After completing the transaction, the card details will usually be available in the Orders or Purchase History section. Here, you can view or download your purchased card data.
Always make sure you’ve saved the data correctly, as some platforms limit download access after a certain time.
Tips for Safe Browsing
Always double-check the card details before purchasing.
Use BIN lookup tools outside Feshop if needed to verify card issuer info.
Avoid cards that look suspiciously cheap or unrealistic.
Regularly monitor your account balance and transaction history.
Browsing cards on Feshop is a straightforward process once you understand how to use the filters and categories. With the right approach, you can find targeted listings that suit your needs and budget.