Tents are usually lighter and are generally used in milder climates in spring, summer and autumn. Usually can perform well in wind and rain, but the design characteristics also determine that they are generally difficult to cope with excessive snowfall. If a tent can barely support 2 inches of snow on it, when the falling snow reaches 20 inches thick, you must be in trouble. What should you pay attention to when setting up a tent? Outdoor Patio Umbrella, especially new tents, must be tried at home to check whether there are any problems, including whether the tent fabric is damaged, and whether there are any parts missing, so that you will not encounter trouble when camping. You can also bring it with you. Attach some easily damaged spare parts just in case; do not place near water to avoid rising water.
Don't be under the cliff to avoid falling rocks. Don't be in high convex places and avoid strong winds. Don't be under an independent tree to avoid electric shock. Don't be in the grass or bushes to avoid snakes and insects. The ideal campsite should be located in a dry, flat, wide-sighted place, with access up and down, sheltered from wind and drainage, and convenient for water. So what are the ways to use outdoor tents?
- Choose a relatively flat place to set up an outdoor tent. The ground should be cleaned. Put the inner tent on the ground, take out the folded tent pole, straighten it section by section, and connect it into a long pole. Follow the instructions in the instructions. Passing into the tent pole cover above the tent is generally a cross method.
- After the two poles are worn, you can insert one end of each pole into the small hole on the corner of the tent, and then two people work together to hold the two heads and push the poles inward. The tent is arched up, knowing that the other heads are also inserted into the small holes. After inserting, the tent is basically formed. Of course, it is only a rough outline. If you want to be firm, you need to bolt the crosses of the poles with your body. , And then think about the direction of the door, you can hook the four corners of the tent with ground nails and insert it into the picture, and fix it. It should be noted that the bottom of the tent must be supported to make the whole tent bulging.
- Finally it’s the turn to install the external account. Put the internal account in the opened external account. In this step, the door of the internal and external account must be unified, otherwise it will not be able to enter after it is set up. The four corners of the internal account The four corners of the corresponding tent are hung up. In some tents, the four corners of the external account are also nailed around the four corners of the internal account. Check if there are any hanging loops on the external account that can be nailed to the floor. It’s bulging, and there is a certain distance between it and the inner tent, so that the inner tent will not get wet when it rains. In addition, it is also because a layer of dew or frost forms on the outer tent in the morning, so there is a certain amount of space to avoid getting it. Wet inner tent.
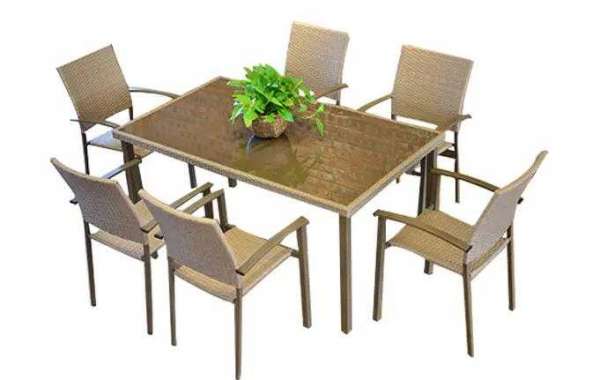
- Don’t think that after the above three steps, the tent is set up. There are some ropes on the external account. Of course, the ropes exist for a reason. They are used to reinforce the Custom Leisure Furniture, but there is no big wind. , But like me, it’s insecure if you don’t pull the rope. It’s best for people who can’t fall asleep. In case the weather gets cold at night, the rope is also pulled with ground nails. It is not difficult to pull the body, just pull it well.